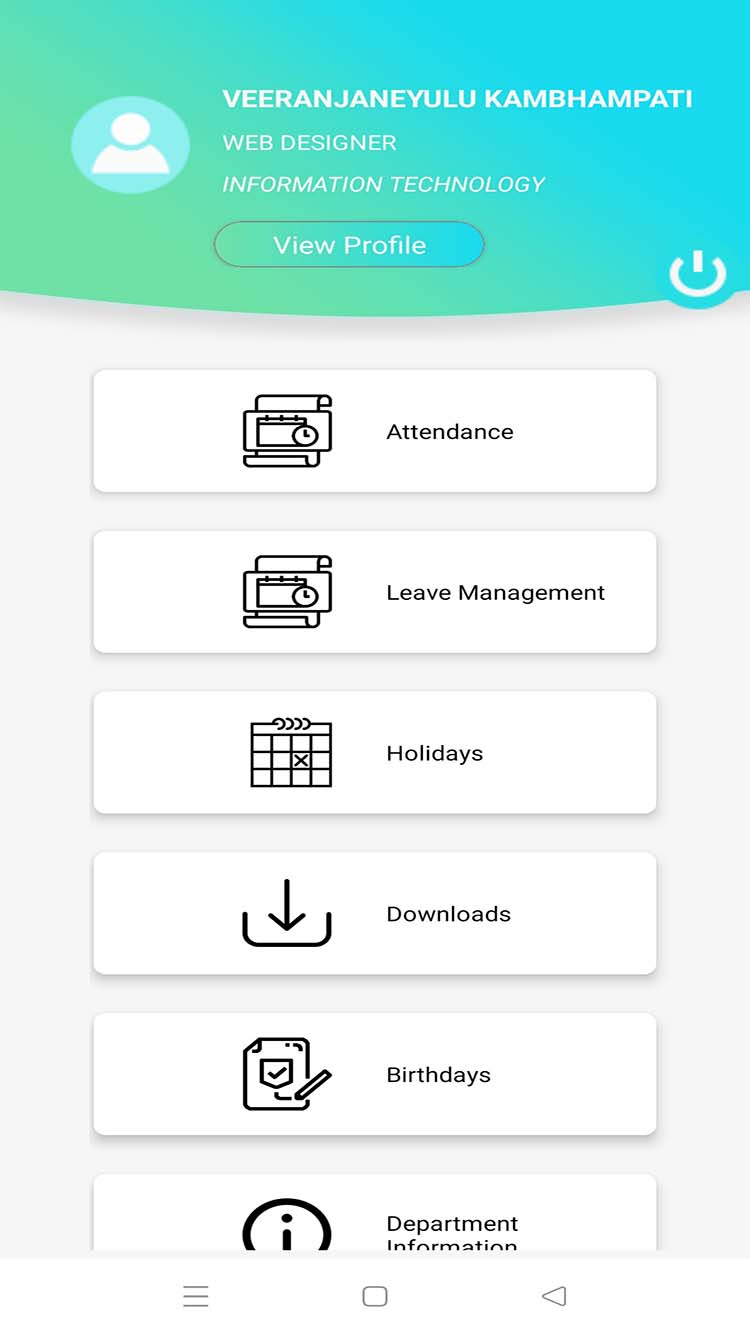
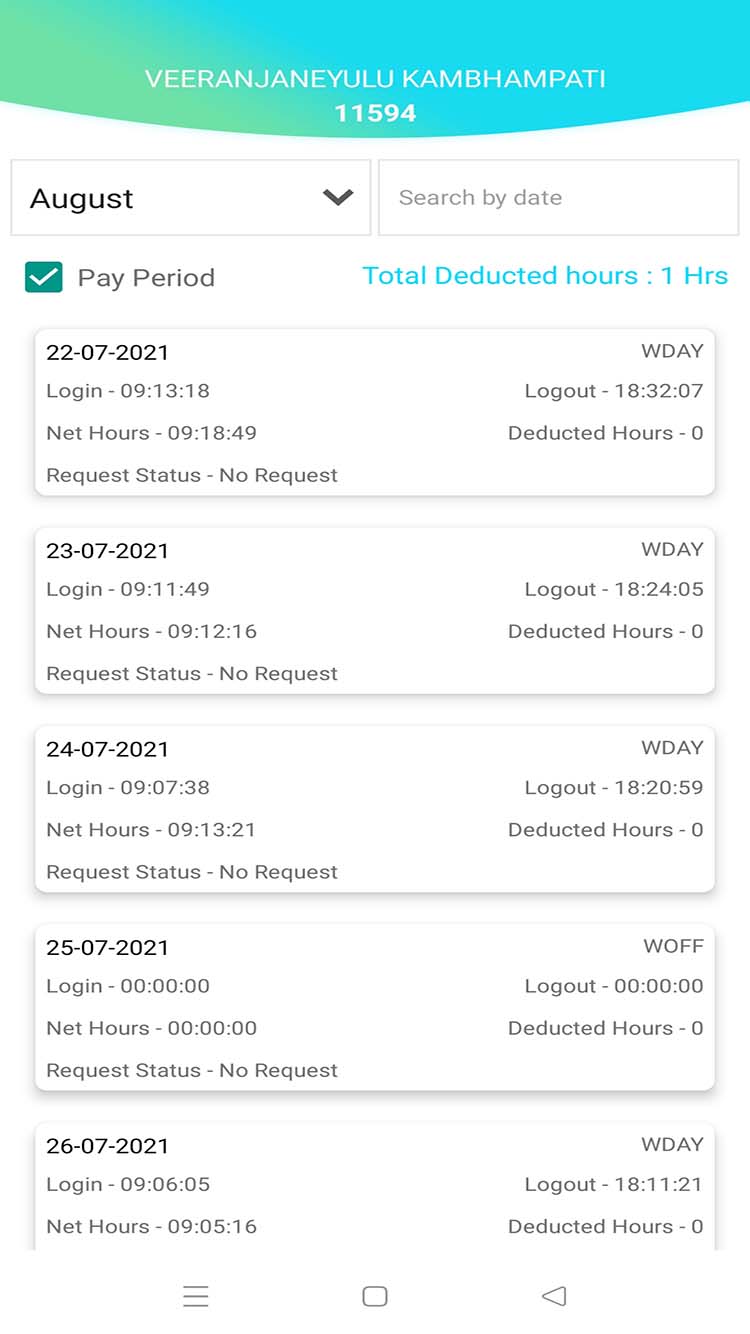
Oficisto Help Center

Now available on the Play Store!

Contact for Support

Email: hr@heterohealthcare.com

Phone: For Hyderabad, 040 4047 39 36
For Mumbai, 022 26849337/38/39/40

App's Features

Attendance Module

You can find information about your daily working hours here

Leave Management

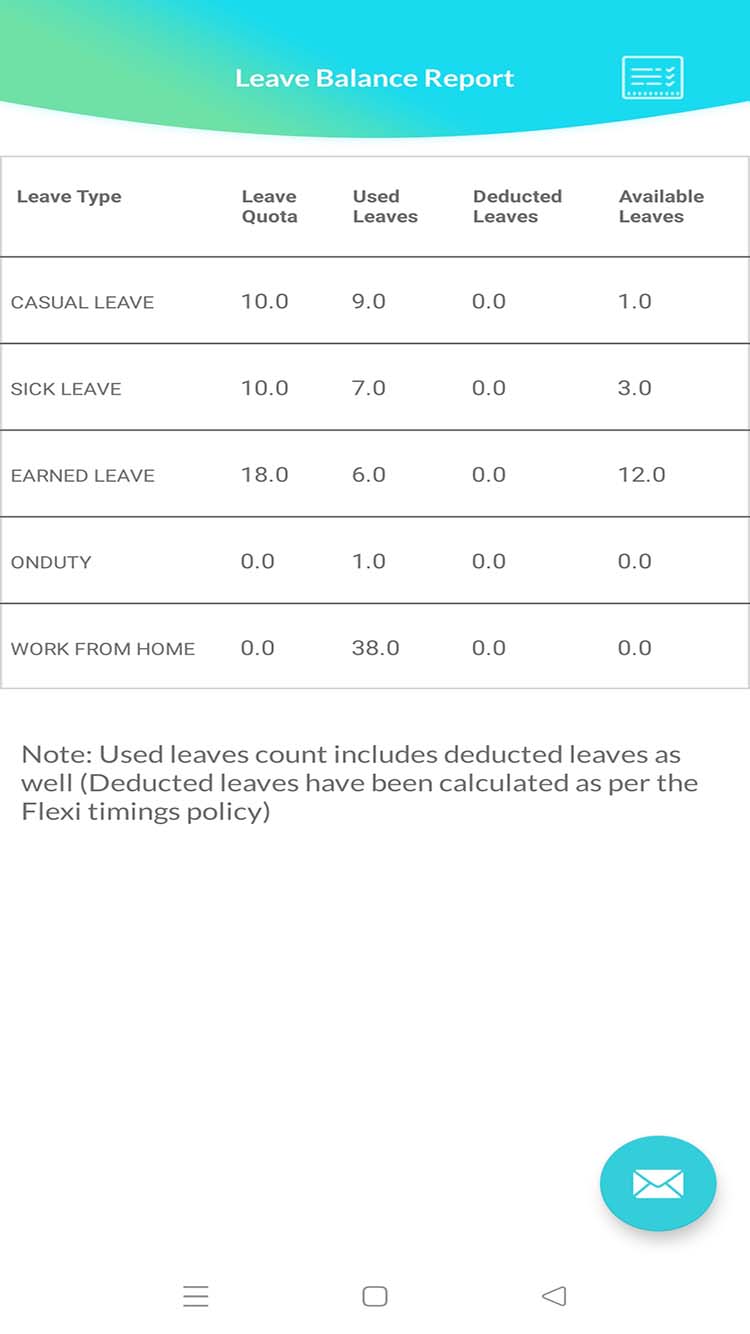
In applying for leave use this module and check your leave available balance and usage summary

Holiday Module

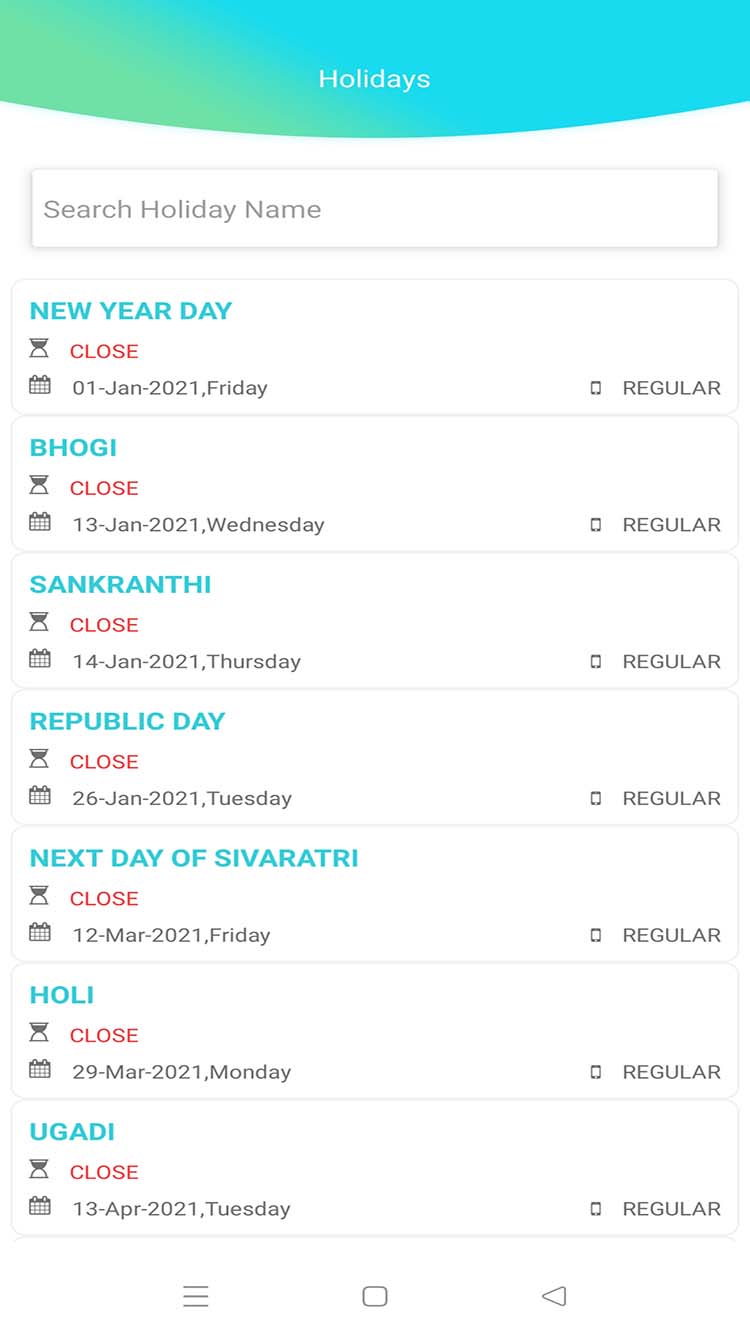
See your official Holiday list

Department Information

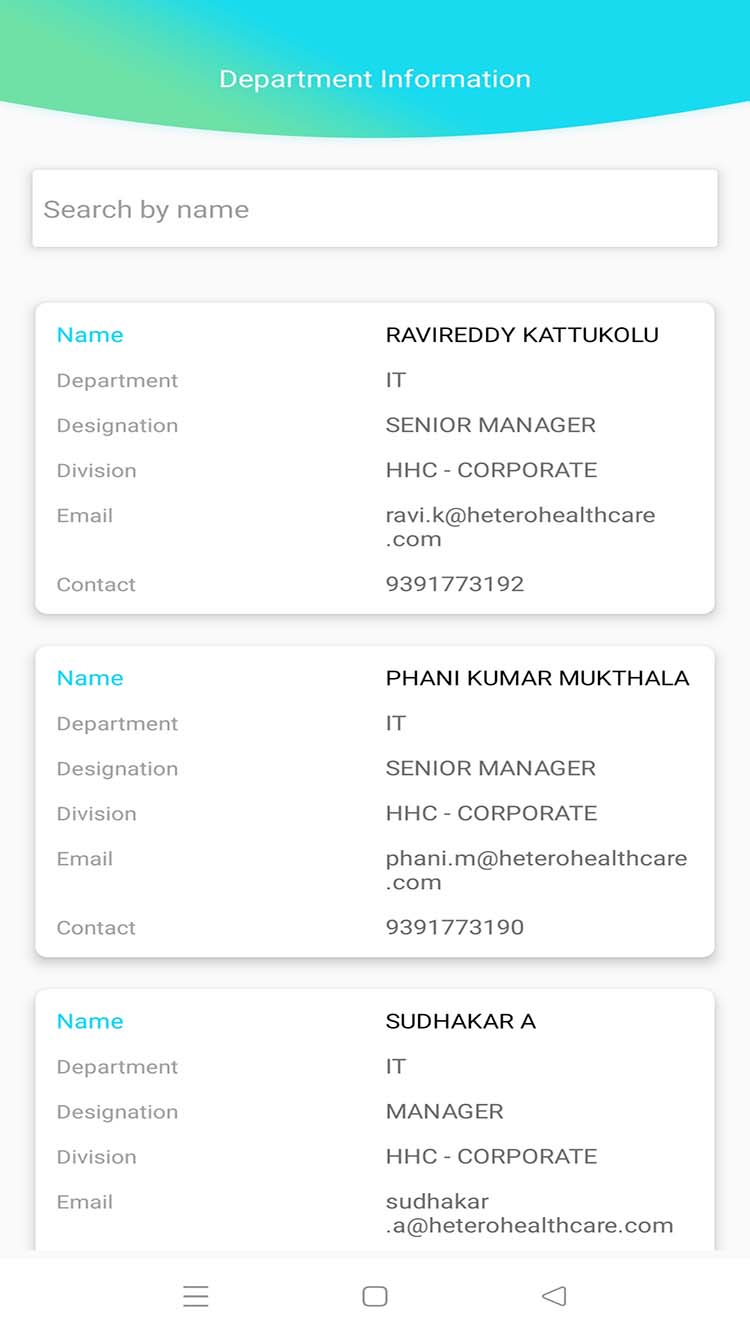
Here you can find information about coworkers in the Department where you work.

HR Policies

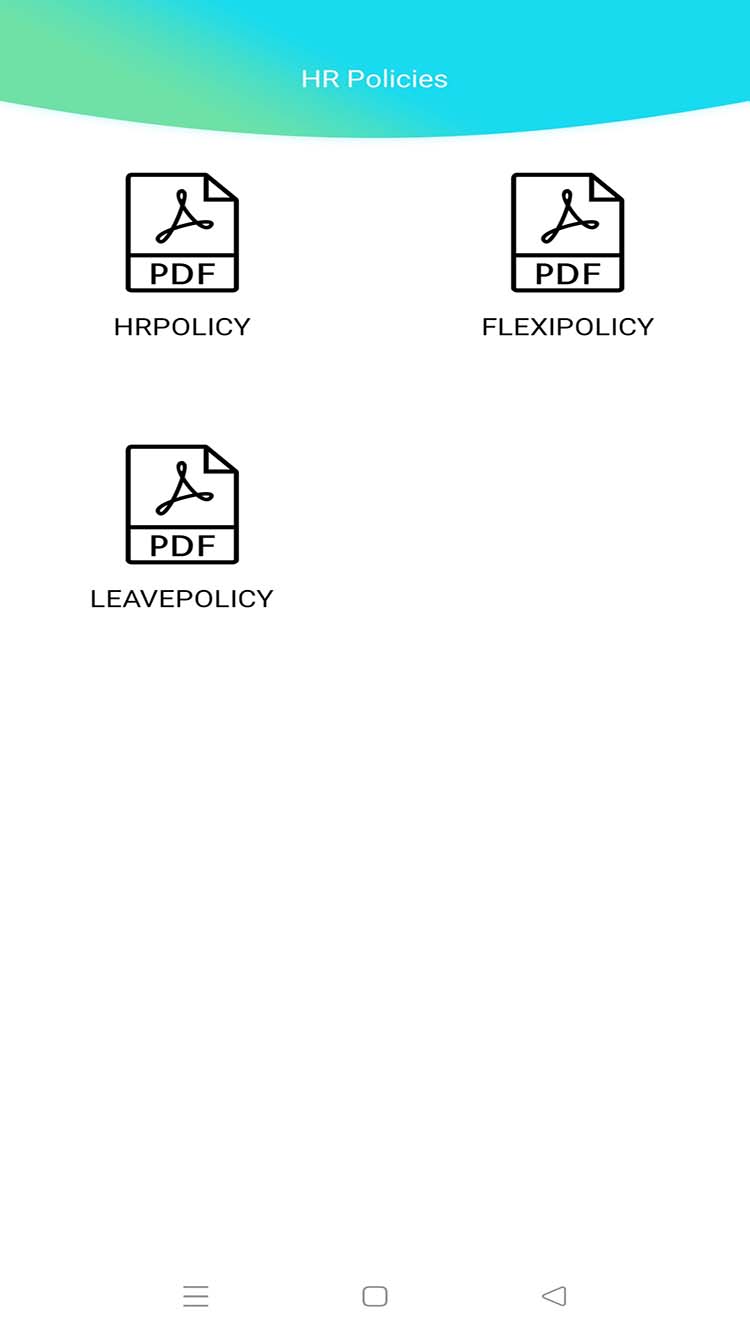
You Can access HR Policies Documents In this Section

Career Module

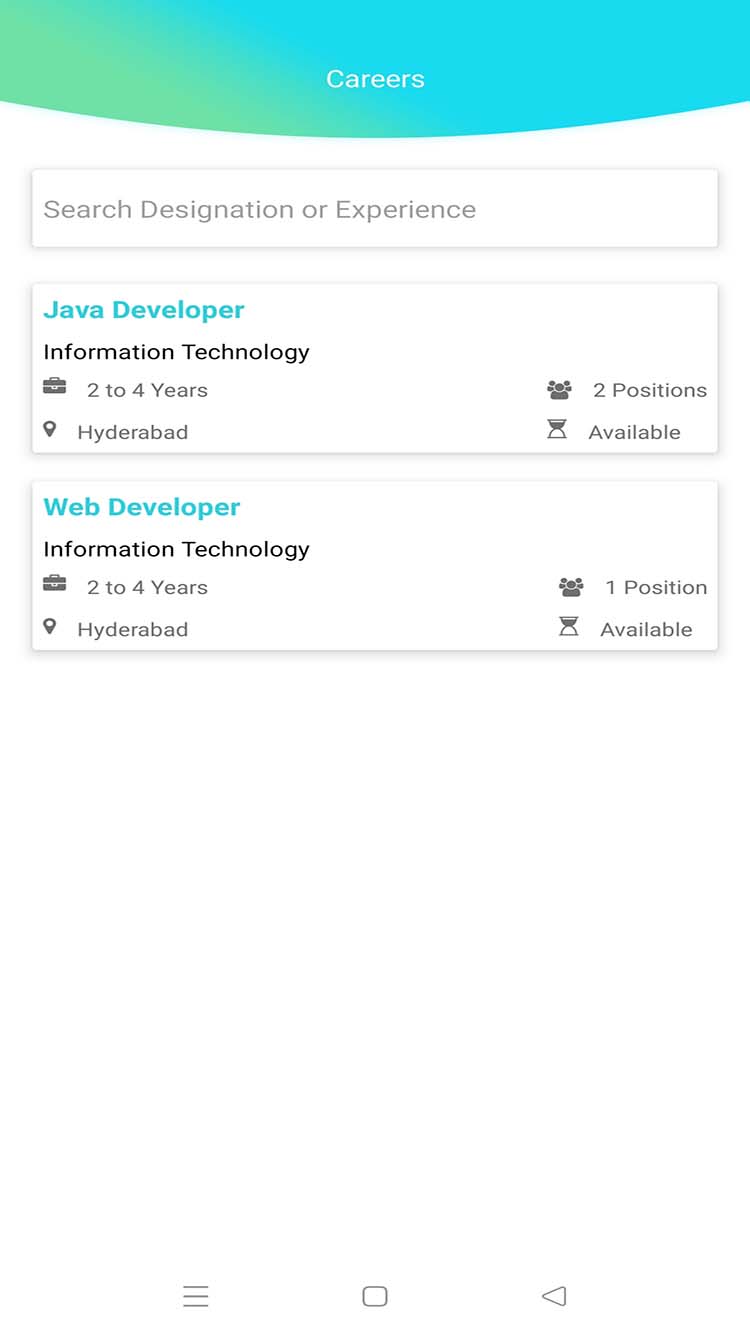
In Career Section Available on the list of jobs. you can share and refer this with anyone.

App's FAQs

Follow these steps to reset the new password:

  • Click on Forgot password.
  • Enter your employee Id/User Id and click on verify.
  • Confirm your Mobile Number and click on "Get OTP."
  • You will receive an OTP on the registered mobile number
  • Enter the OTP and click on "Reset."
  • You will see two tabs, "Enter Password" and "Confirm Password."
  • Enter the new password in the "Enter password" and "Confirm Password" tabs.
  • Confirm the password.
  • Your password will be changed, and you will be redirected to the iconnect software login page.
  • Enter the User id/Employee Id with a new password and login into iconnect.
  • Step 1: Go to the iconnect login page
  • Step 2: Login using User Id/Employee Id and Password.
  • Step 3: Select the 4th display box with the name - "Leave and Attendance Monitoring".
  • Step 4. Select the first option "Apply for Leave".
  • Step 5: A page will display options to apply all types of leaves and work from home.
  • Step 6: Go to the option "Select Leave category" and click on the drop-down box opposite to it.
  • You will find all the categories of leave.
  • Step 7: Select your leave category or the Work from home option.
  • Step 8: Enter the "From date to To date"
  • Step 9: Verify the name of your reporting manager in the tab.
  • Step 10: Write the reason for Leave in the dialogue box of "Reason for Leave".
  • Step 11: Click on the option "send" button.
  • Step 12: Your request will be directly processed to your manager.
  • If you are applying for a Half-day leave:
  • Step 13. Select the leave category, Enter the "From date to To date"
  • Step 14. Tick the Yes icon written opposite to Half day leave.
  • Step 15. Click on send button.
  • Your request will automatically be processed to your reporting manager.
  • Click on the cross "X" button on the display page to go back to the dashboard.
  • Open the iconnect login page.
  • Login using the Employee Id/User Id and password.
  • You will see the "Dashboard page".
  • You will see an index of pages on the left side.
  • Click on Careers option.
  • You will find the information about:
    • list of vacancies
    • product description,
    • number of vacancies
    • required qualifications,
    • Required skills, educational experience, and contact person details,
  • Job seekers can directly apply to email id of the contact person.

Yes, you can apply the Provisional Income Tax Declaration Form in iconnect.

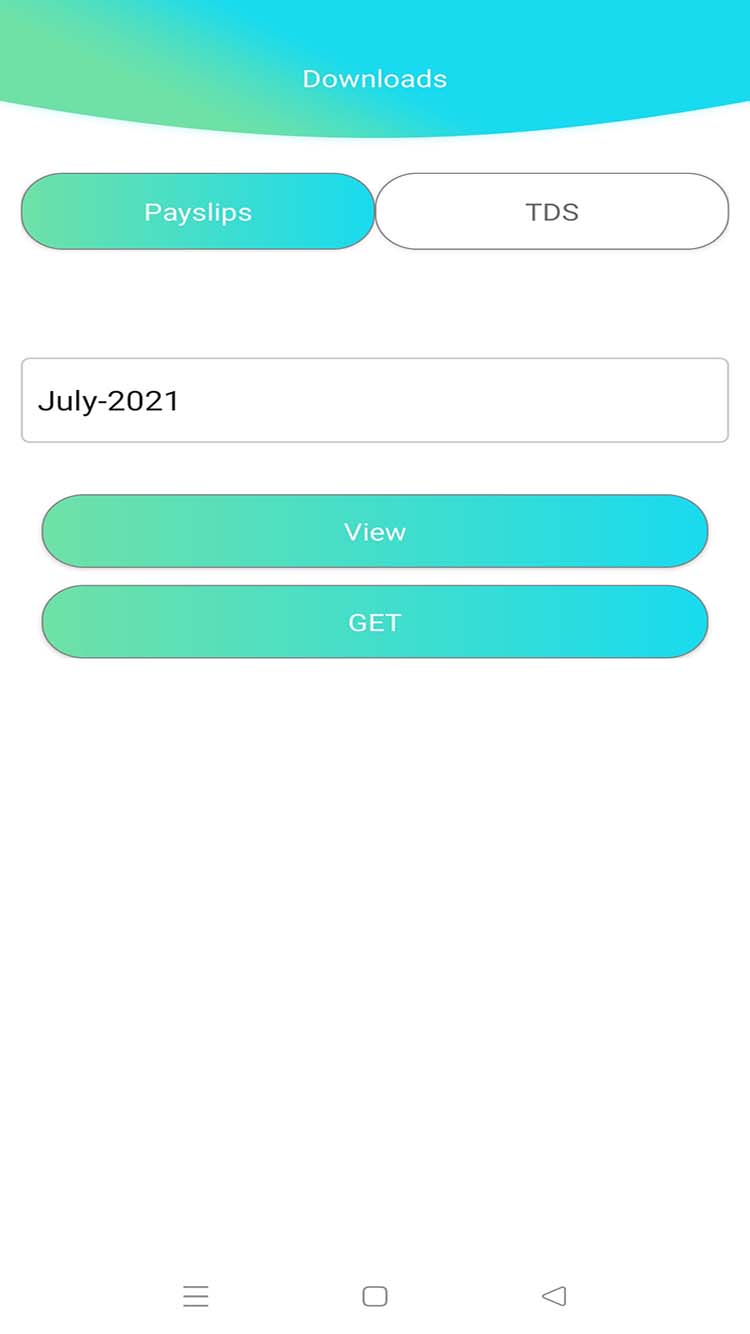
Steps to apply the TDS form

  • Step 1: Open the iconnect login page
  • Step 2: Login using the Employee Id/User Id and password.
  • Step 3: You will see the "Dashboard page".
  • Step 4: You will see an index of pages on the left side.
  • Step 5: Click on TDS Declaration option.
  • Step 6: Enter your personal information:
    • Employee ID, Name, Designation, Department, Address, Contact, Region, Age, and Pan number.
    • As soon as you enter the details the fields below unfreeze for further information.
  • Step 7: Enter the required information and tick the declaration form at the bottom.
  • Step 8: To edit the whole information on the page, click on reset.
  • Step 9: Confirm the entered information is rite and clear, print the form before you click submit to provide the duly signed copy to HR Department.
  • Step 9: Click on submit.

Your TDS form will be submitted successfully to the concerned department.

  • Step 1: Open the iconnect login page
  • Step 2: Login using the Employee Id/User Id and password.
  • Step 3: You will see the "Dashboard page".
  • Step 4: Select the fourth dialogue box with the name – "Leave & Attendance Monitoring".
  • Step 5: Click on fourth option – "Bio/Swipe Attendance Report" in the dialogue box.
  • Step 6: A table of current month "In and out timings" will be displayed
  • Step 7: At the top of table there are two tabs "Current month" and "Pay Period view".
  • Step 8: Click on Pay Period View.
  • Step 9: You will find the deducted hours of the current month. If you want to find the deducted hours of previous months.
  • Step 10: Click on the Current month drop down. All the months will be displayed.
  • Step 11: Choose the month you want to check the deducted hours.
  • Step 12: Click on the attachment symbol present at the end of the table to view the policies for deduction hours.
  • Step 1: Open the iconnect login page
  • Step 2: Login using the Employee Id/User Id and password.
  • Step 3: You will see the "Dashboard page".
  • Step 4: You will see an index of pages on the left side.
  • Step 5: Click on the second option “Profile”
  • Step 6: You can view your profile which has your personal information, reporting manager name, designation Employee Id, date of joining.
  • Step 1: Open the iconnect login page
  • Step 2: Login using the Employee Id/User Id and password.
  • Step 3: You will see the "Dashboard page".
  • Step 4: You will see an index of pages on the left side.
  • Step 5: Click on the option "Downloads".
  • Step 6: You will find a Pay Slip option at the left corner on the top of the table.
  • Step 7: Click on the drop down select the month you require.
  • Step 8: Your payslip will be displayed.
  • Step 9: Adjust the width and length of the table, rotate as per your comfortability.
  • Step 10: Click on print to print the Pay Slip.
  • Step 11: Click on download option to download the Pay Slip.
  • Step 1: Open the iconnect login page
  • Step 2: Login using the Employee Id/User Id and password.
  • Step 3: You will see the "Dashboard page".
  • Step 4: You will see an index of pages on the left side.
  • Step 5: Click on the option "Downloads".
  • Step 6: You will find ITS option at the left corner on the top of the table.
  • Step 7: Click on the drop down and select "Financial year" option to view the TDS declarations. OR
  • Step 8: Choose the option Form 16 A to select your TDS claims.
  • Step 9: You can either download or print the documents as per your requirement.

Follow these steps to change the password of iconnect:

  • Step 1: Go to the iconnect login page
  • Step 2: Login using User Id/Employee Id and Password.
  • Step 3: Choose the first dialogue box with the name "Profile".
  • Step 4: Click on the option change password with a lock icon written against profile in the heading bar.
  • Step 5: A dialogue box flashes up to change the password.
  • Step 6: Enter your current password and new password.
  • Step 7: Enter the new password second time to confirm password
  • Step 8: Click on Save.
  • Step 9: Your password will be updated successfully.

Note: Your password should have minimum 6 and maximum 15 characters with minimum one letter, one special character, and numbers (0-9).

  • Step 1: Open the iconnect login page
  • Step 2: Login using the Employee Id/User Id and password.
  • Step 3: You will see the "Dashboard page".
  • Step 4: You will see an index of pages on the left side.
  • Step 5: Click on the "Department information".
  • Step 6: List of employees specified with their complete information will be displayed in a tabular form.

Follow these steps to view the leave status iconnect:

  • Step 1: Go to the iconnect login page
  • Step 2: Login using User Id/Employee Id and Password.
  • Step 3: Choose the fourth dialogue box with the name "Leave & Attendance Monitoring".
  • Step 4: Select the second option "Leaves Summary Report".
  • Step 5: A display page will flash up showing:
    • Leave applied date, leave status (approved or pending), and status of the email.
  • Step 6: Click on cross "X" icon to close the page and go to dashboard.

Steps to view "Leave policy" of the company in iconnect:

  • Step 1: Open the iconnect login page.
  • Step 2: Login using the Employee Id/User Id and password.
  • Step 3: You will see the "Dashboard page".
  • Step 4: Choose the second dialogue box with the name "HR Policies".
  • Step 5: Click on the option leave policy.
  • Step 6: You can view the whole document.
  • Step 7: You can either download or print the document.

User Oriented Interface

App Download